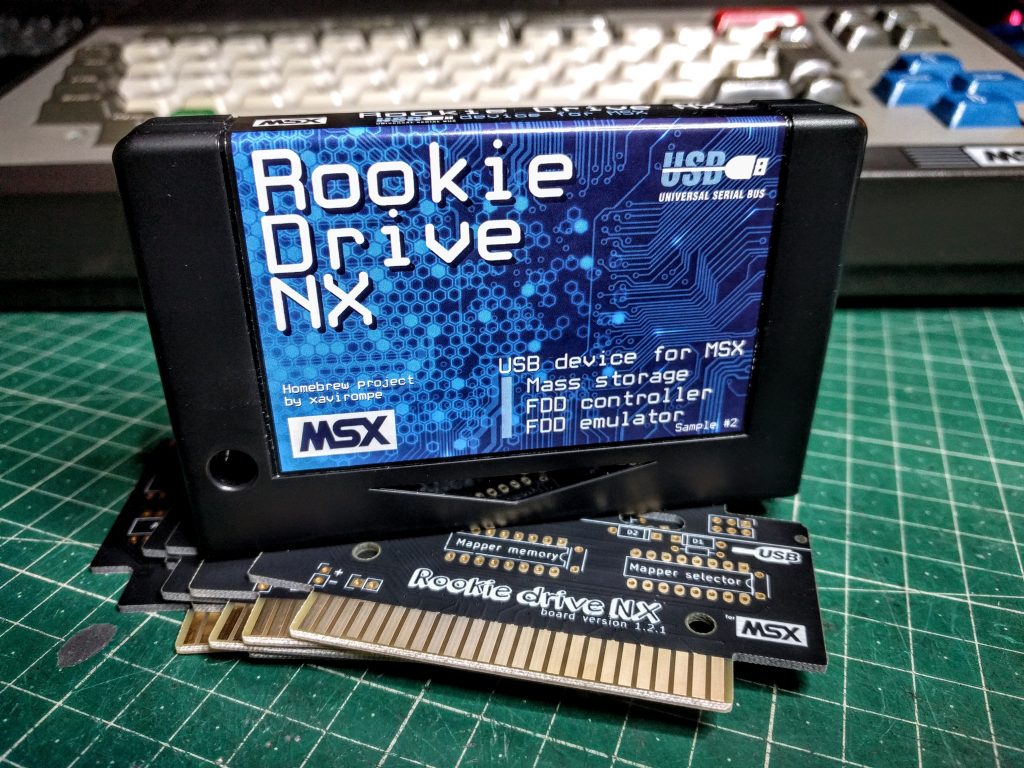
Rookie drive NX
Rookie drive NX contains three drivers in the same ROM
- Rookie drive 720 driver -> Floppy disk emulation based on MSXDOS 1.0 (ideal for MSX1 computers)
- Rookie drive Nextor driver -> With Nextor operating system (needs minimum 128K, usually for MSX2)
- Rookie Drive FDD BIOS -> USB floppy disk controller compatible with UFI protocol (developed by Konamiman)
Boot loader
When starting, Rookie drive will try to detect the presence of USB disk drive with UFI protocol, if so the system will automatically load the floppy disk driver, otherwise, it will automatically start a code that will detect the type of MSX we have, if MSX1 will launch the Rookie drive 720 ROM (floppy disk emulator), if it detects MSX2 it will launch the version with Nextor.
At boot time we can “force” the loading of the diskette emulation version by pressing “7 or D in the newer versions” (720kb) or the Nextor version by pressing “N”.
Rookie Drive FDD BIOS v1.0*
This new driver has been developed by Konamiman, and turns Rookie drive into a USB floppy disk controller. The USB FDD must comply with the UFI protocolor, and they must be faithful to this protocol, otherwise they will not work.
Using a compatible UFI floppy drive with Rookie drive is as easy as connecting it through the USB port of the cartridge and booting the MSX, the boot loader will detect the floppy disk drive and run the floppy disk driver.
*Due to the differences in the implementations of the UFI protocol of the different floppy drives, its operation is not guaranteed.
Rookie drive Nextor driver v1.1
This driver is for Nextor o.s. “Nextor is a disk operating system for MSX computers. It is actually an enhanced version of MSX-DOS, with which it is 100% compatible, and it identifies itself as MSX-DOS 2.31 to MSX-DOS aware applications.”
Nextor requires 128k of RAM to run.!
A 320K DiskROM is also included in this driver, you can use this DiskROM to boot Nextor and a Filemanager like Multimente or SofaRun.
More info about Nextor in Konamiman’s website: http://www.konamiman.com/msx/msx-e.html#nextor
Very important, Nextor supports FAT12 and FAT16, so if you try to use a device in FAT32/exFAT will not work, (if you use SofaRun in the diskROM, then causes a black screen lock), if you stay blocked on the screen in black, reboot The MSX, when NEXTOR.SYS appears on the screen press CTRL + STOP, the message “Terminate batch file (Y / N)?” Appears, you give “Y”, then you can call “BASIC” _fdisk, which will allow you to erase the partitions of the pendrive and create new ones in FAT16 (caution with this option, erase everything!).
Rookie drive 720 v1.3.8 (Floppy disk emulation)
Rookie drive 720 supports only one virtual disk at a time. The use of several simultaneous disk images is not implemented yet.
Here is the summary of rookie drive 720 features:
AUTOEXEC.DSK Functionality
When starting this driver the system will verify the existence of the AUTOEXEC.DSK file, if it is affirmative, it will proceed to treat it as the “inserted” image by default, ignoring the existing configuration in USXMSX.INI
Listing of USB root directory
Using the command:
call usbfiles
We will get the list of files contained in the root directory of the USB device, this will allow us to see the image files contained in the USB device and then load them using the insertdisk command.
Change current folder
With this command we can change the active folder inside the USB device:
Call usbcd ("directory")
You can return to the previous folder using:
Call usbcd ("..")
This feature has been available since version 1.3.5
Load Rom files of 8/16/32K
Load a .ROM file to the ram and start executing
call loadrom("filename.rom")
(The file must be located in the root directory of the USB device, and filename must be in 8.3 format)
Insert disk
Simulates the “insertion” of a new disk, through this instruction the disk image to be used is specified. Disk images of up to 720 kbytes are currently supported.
The format of the call command is as follows:
call insertdisk("imagename.dsk")
(The file must be located in the root directory of the USB device, and filename must be in 8.3 format)
If the command is executed correctly we can access the list of files using the “files” command, and work normally using typical commands, such as: run, save, bload, etc …
To create a disk image from the PC we can use Disk-Manager, this program is very practical when creating new DSK and adding files. (http://www.lexlechz.at/en/software/DiskMgr.html)
Automatic reinsertion of the last disc used
After the restart, the last disk image that was used will be automatically inserted again, this action can be canceled momentarily by pressing the ESC key during hardware initialization. The internal operation contemplates the creation of the file USBMSX.INI, in which the name of the image to be loaded is saved, so that it is persistent both to reset and to shutdown the machine.
Creating a new image
This command is in the experimental phase, since you need to execute internally the format command, which has not been fully developed. Currently, if we execute this command we will get a disk image of 720kbytes full of 0xff characters.
To create a new image just launch this command:
call createdisk("filename.dsk")
*Once the format finishes you must use insertdisk command to operate with the new created disk image.
System Restart
With the command:
call reboot
We will be able to restart the machine without a reset button, or to cut off the power. This command is useful when you insert a disk image that needs to be started directly to run, or when the image contains an MSX-DOS disk and the “call system” command does not work.
Format
Format the virtual disk that is inserted.
call format
Eject
Multi-disk support
Multi-disc games can be used, there are two modes of operation,
- Multiple correlative discs: the game is divided into several files, named as follows: JUEGO.DS1, JUEGO.DS2, JUEGO.DS3 … etc
- Concatenated discs: a single file that contains the images of the discs one after the other.
The operation is as follows, we will “insert” the image of the first disc, and when the game asks us to change the disc then: we will press and hold the disc number to be inserted and press the key that the game indicates (normally the bar spacer) and that’s it!